
Cyanotype printing with Kids! Tutorial
Cyanotype printing is one of the easiest and most accessible art forms I can think of! Utilising the suns UV rays to create immediate art work that looks so professional with kids and adults of any age.
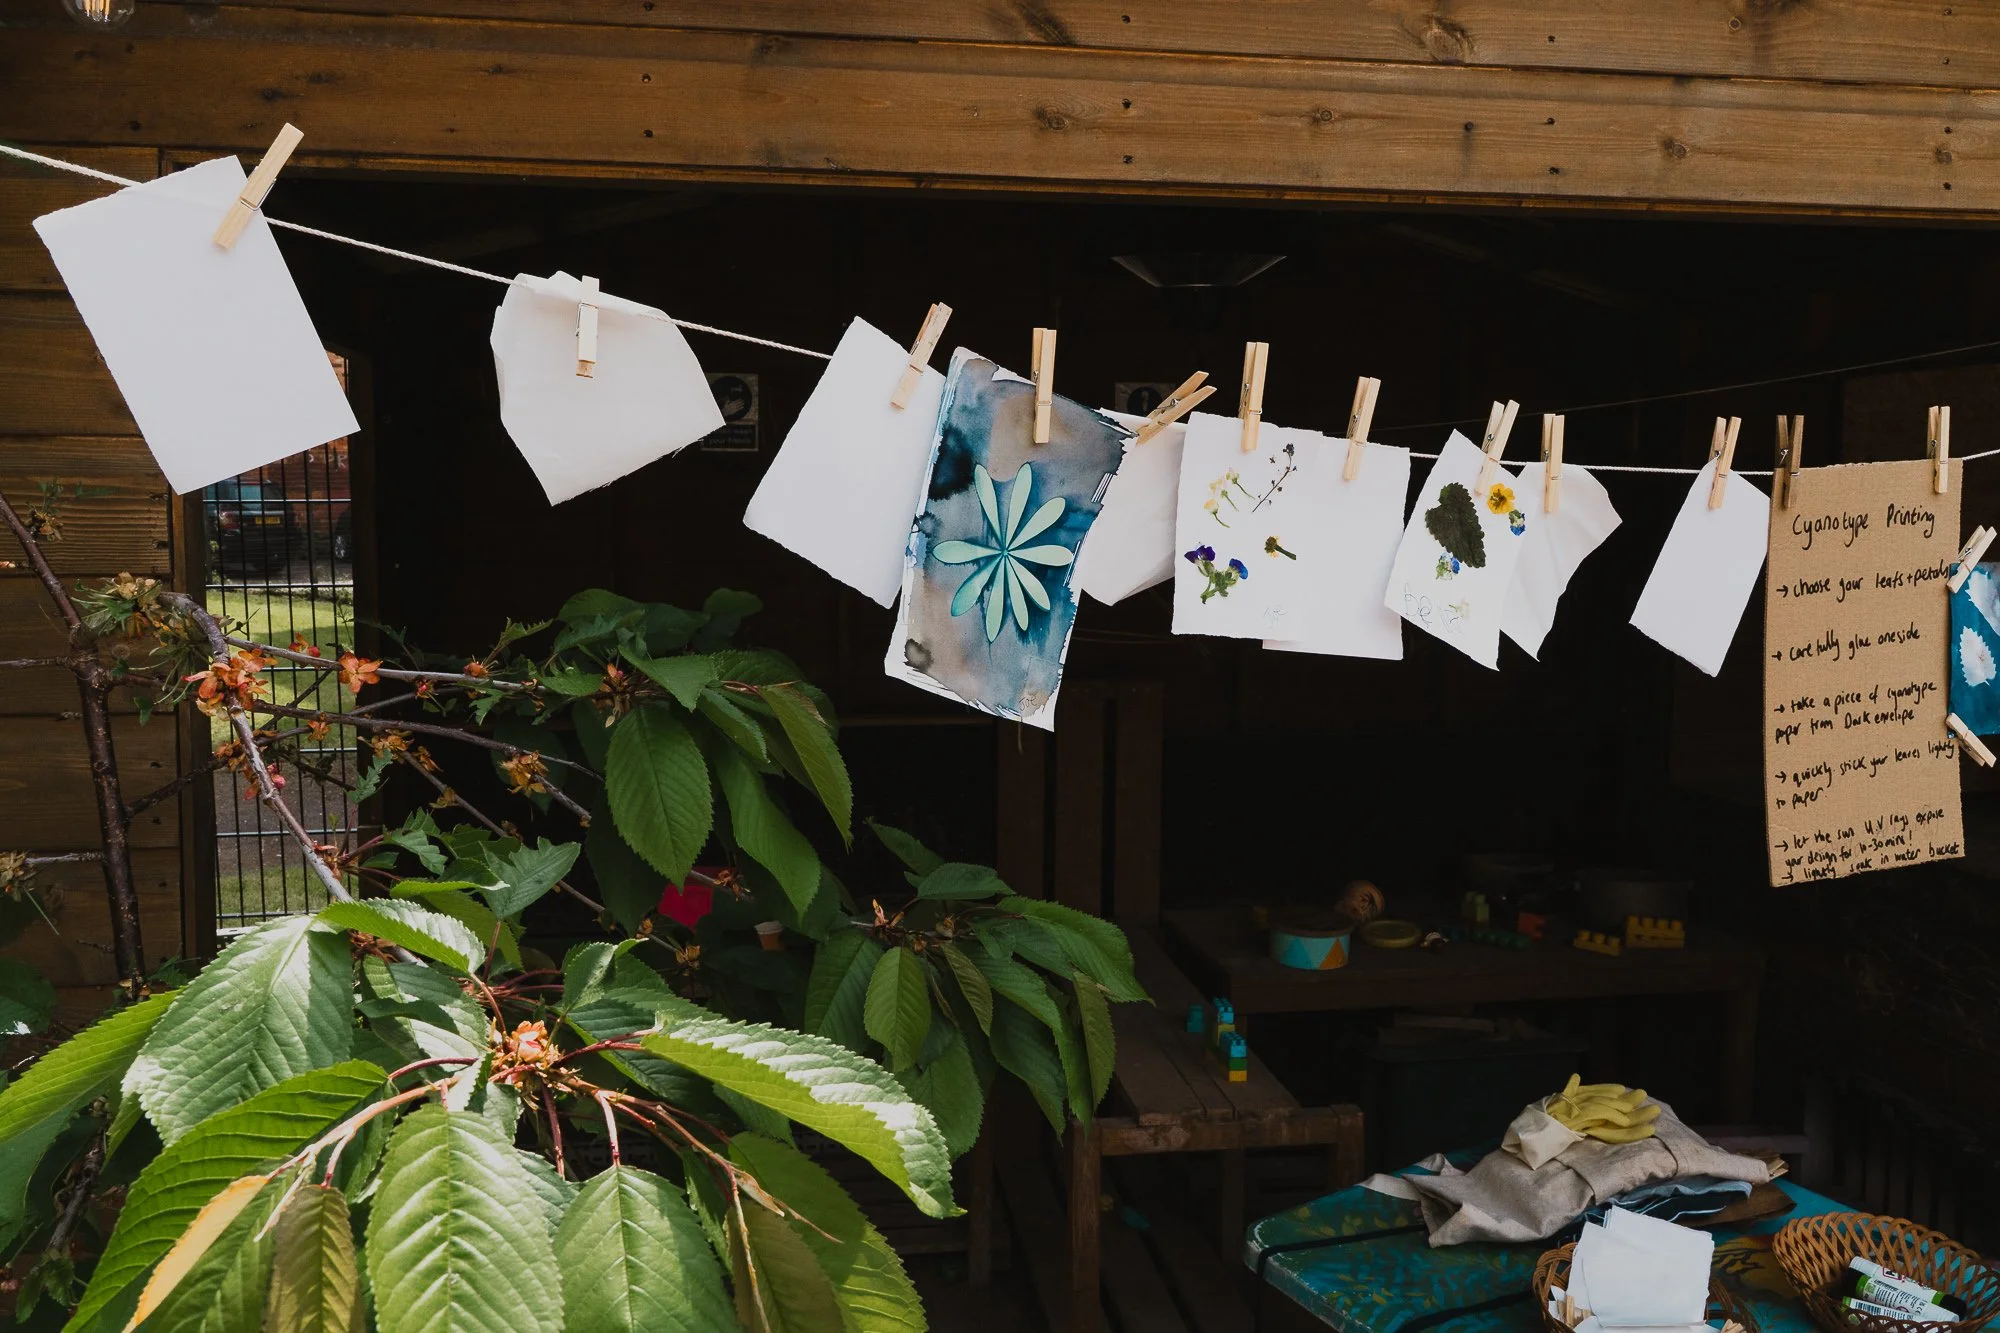
I've used cyanotype printing with groups of 60 children in schools and workshops, as well as just 121 with my kids at home. I it's easy to set up, comparatively affordable as £20 can make 100s pieces of art work and adaptable for so many outcomes from paper cutting to dried flowers.
In this guide, I'll show you how to prepare your own cyanotype paper, create your prints and share a few tips I've learned along the way.
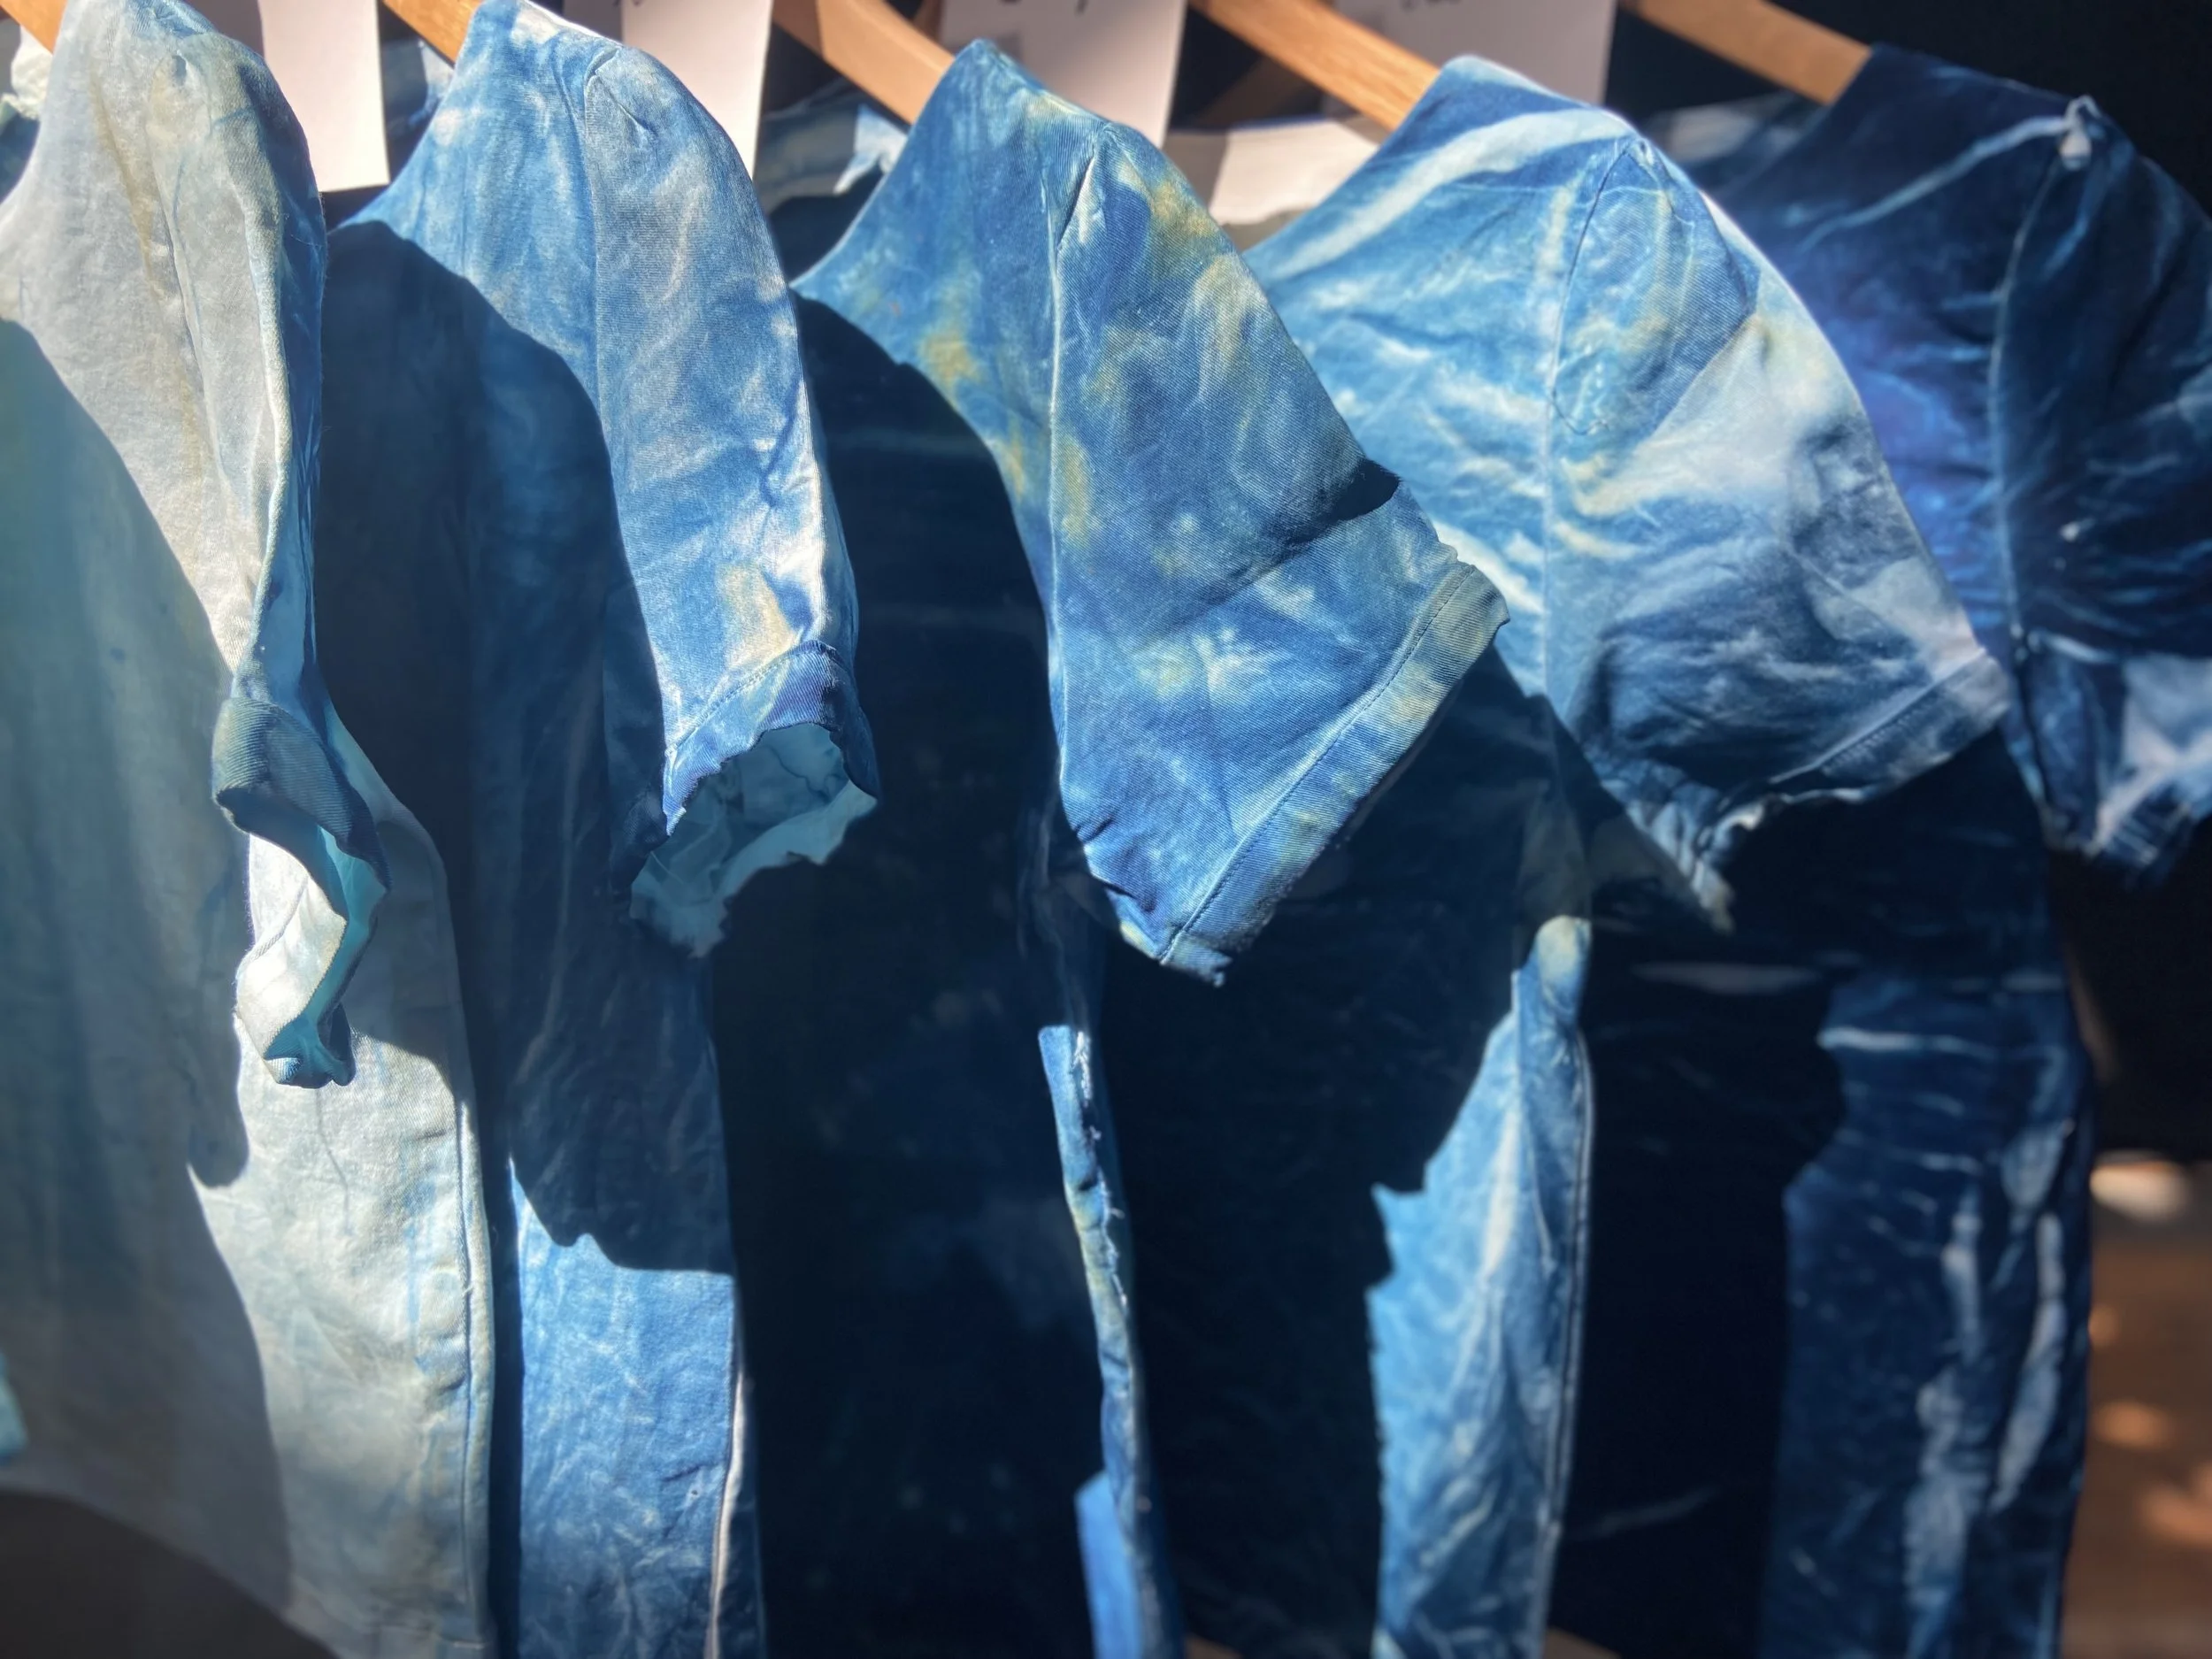
Cyanotype dyed hand made organic tee’s that the students exposed for varying times.
How to Prepare Your Cyanotype Paper
Preparing your own cyanotype paper is a cost-effective option if you're printing with larger groups or want to make multiple designs. You'll need to prepare the paper at least 24 hours before you plan to use it.
What you'll need
Medium to heavyweight paper or white woven fabric (I used GOTS cotton)
An old paint brush
A dark room
A lightproof envelope or container such as a brown envelope wrapped in black fabric
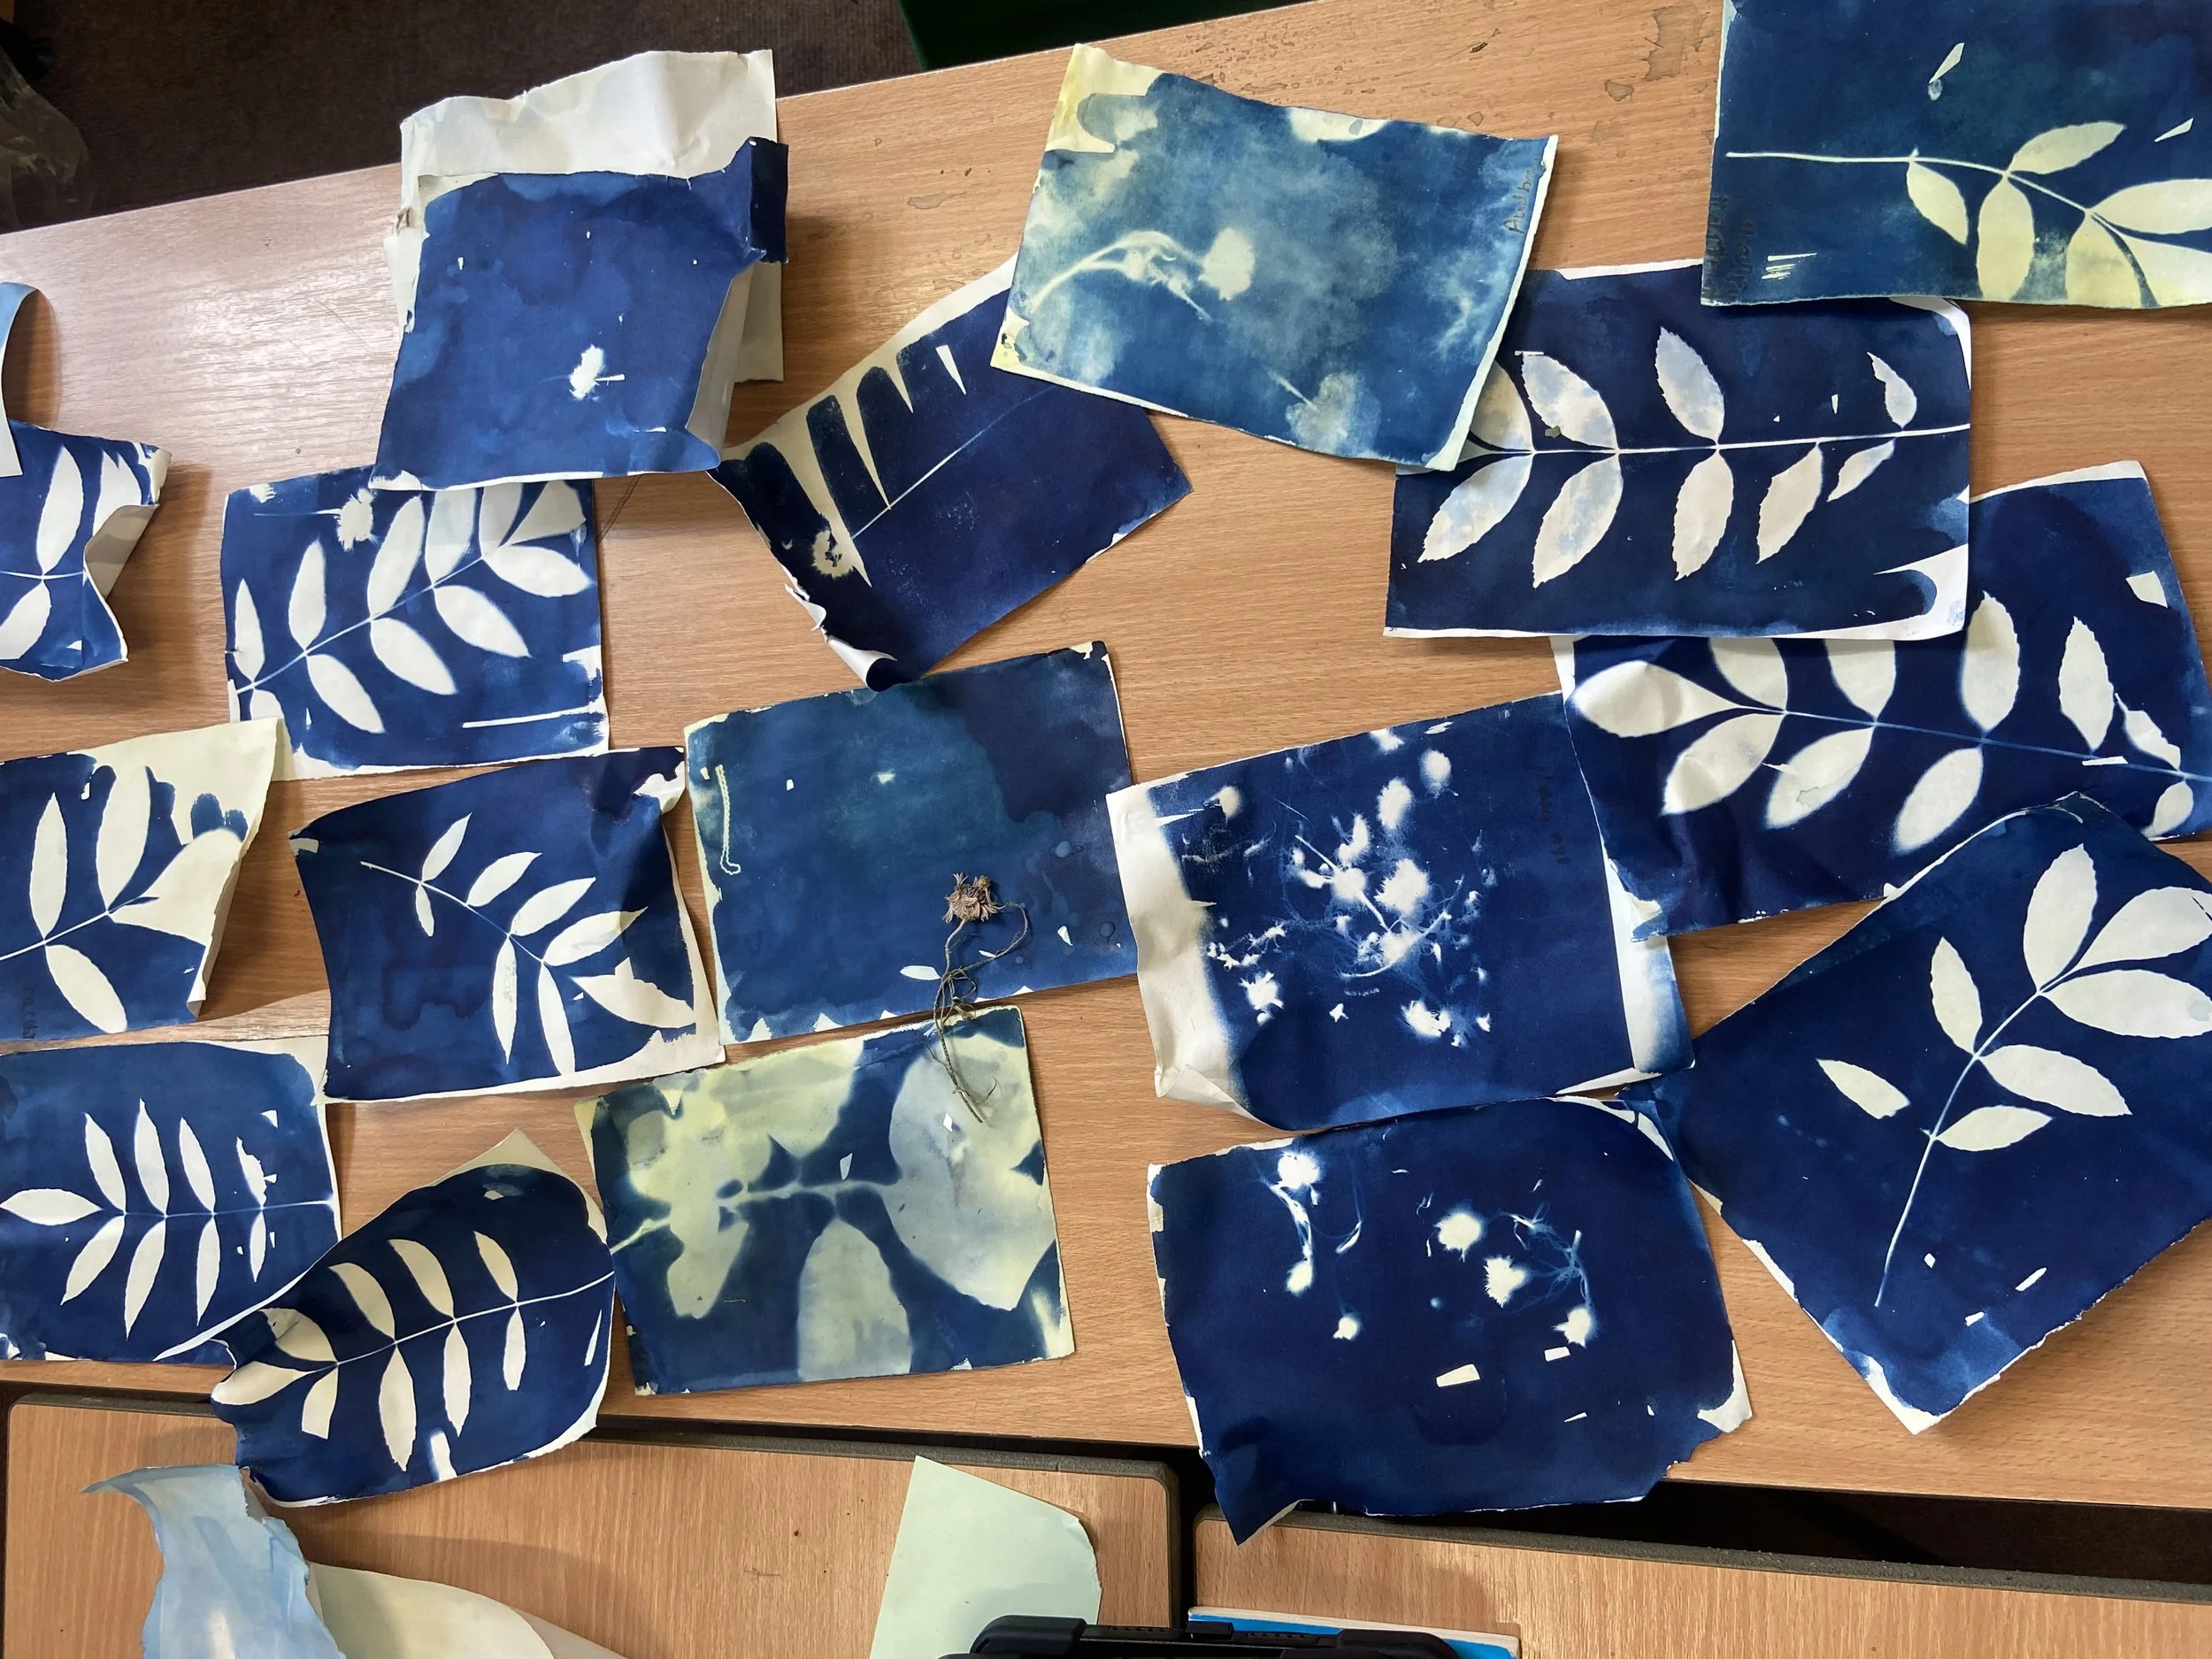
Dried leaves on cyanotype printing.
Instructions
1. Fill both bottles in the cyanotype kit with water and shake well to create Solution A and Solution B.
2. Leave the bottles for 24 hours so the chemicals dissolve completely.
3. In a dark room, mix equal amounts of Solution A and Solution B.
4. Using a brush or foam roller, coat your paper or fabric evenly with the mixed solution.
5. Leave the coated paper to dry somewhere completely dark. I usually prepare mine in the evening and leave it overnight in a room with blackout curtains.
6. Once dry, store the paper in a lightproof envelope or container until you're ready to print. For the best results, use it within three days.
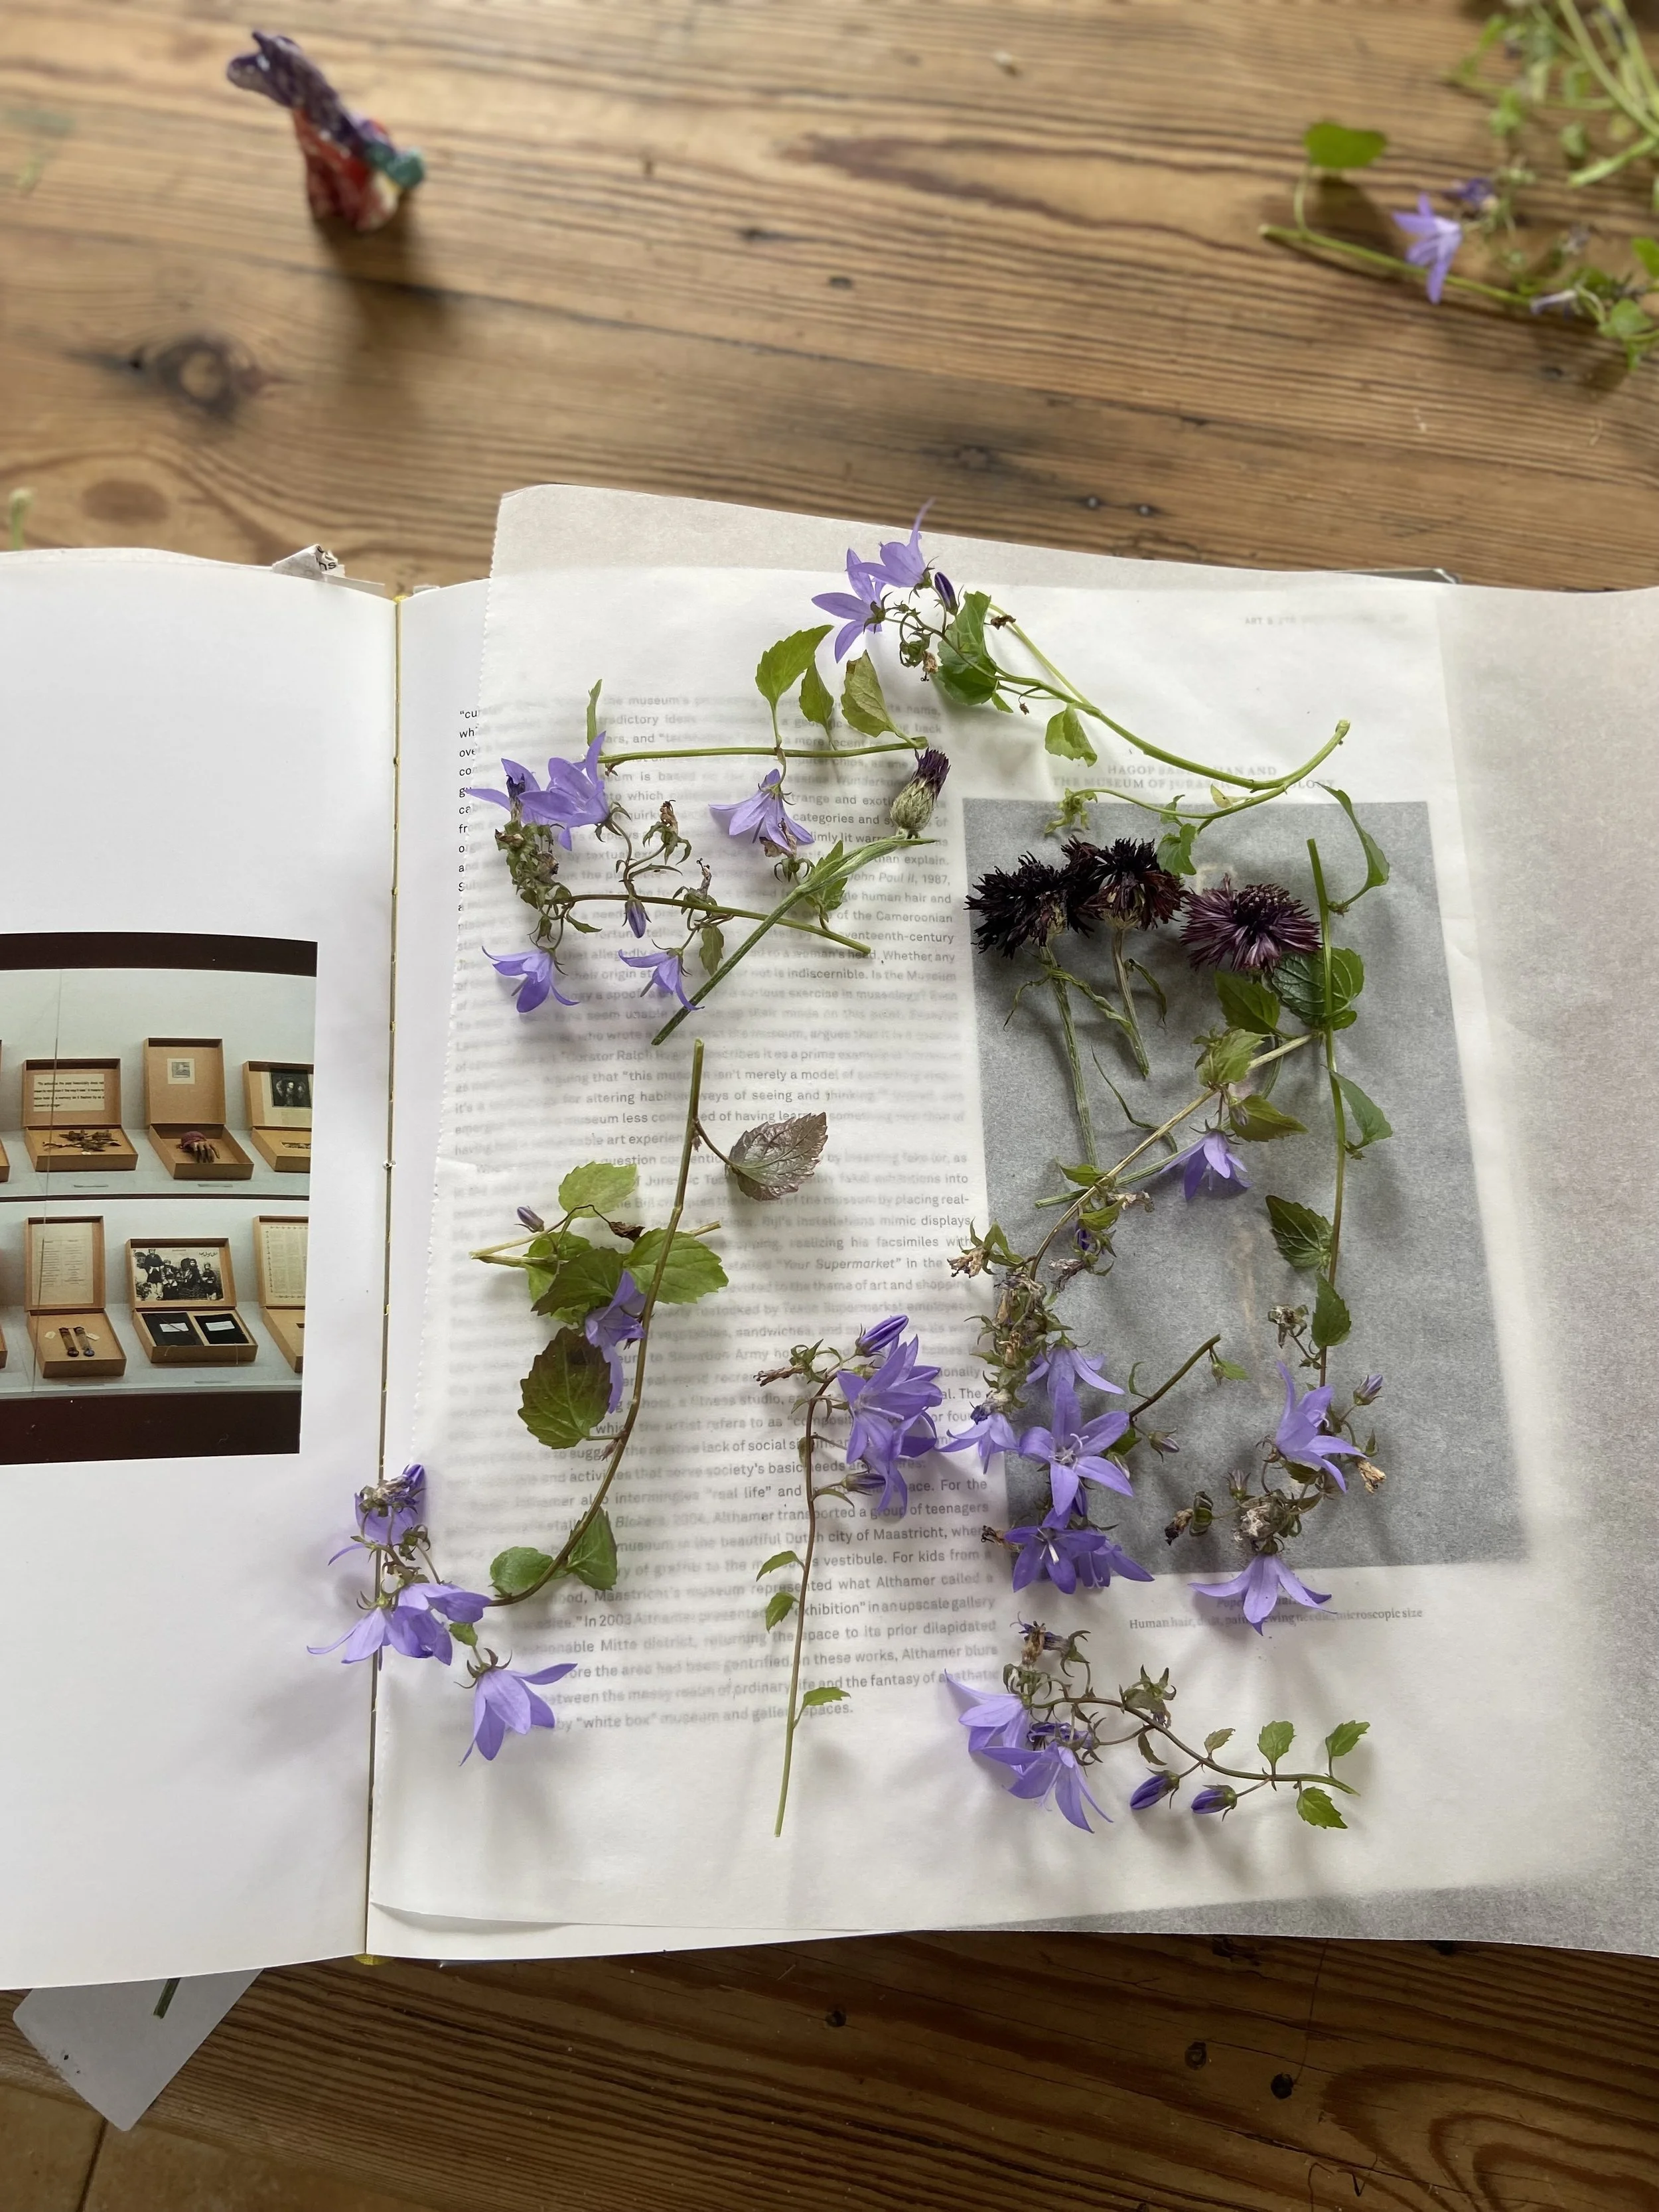
Dried flowers and leaves work really well with Cyanotype as they are defined and flat.
Making Your Cyanotype Print
1. Gather your materials before opening the prepared paper, as it is light-sensitive.
2. Arrange leaves, dried flowers, paper cut-outs or other objects on the coated paper.
3. Sandwich everything between the backing board and glass from a picture frame, securing it with pegs or clips.
4. Place the frame in direct sunlight for around 5 minutes. On cloudy days, leave it for a little longer.
5. Carefully remove the objects and rinse the paper or fabric in clean water for 5 minutes.
6. Watch as your print develops into a rich indigo blue, with the areas covered by your objects remaining white.
That's it! Your cyanotype print is ready to dry and enjoy. Every print is unique, so don't be afraid to experiment with different natural materials and shapes
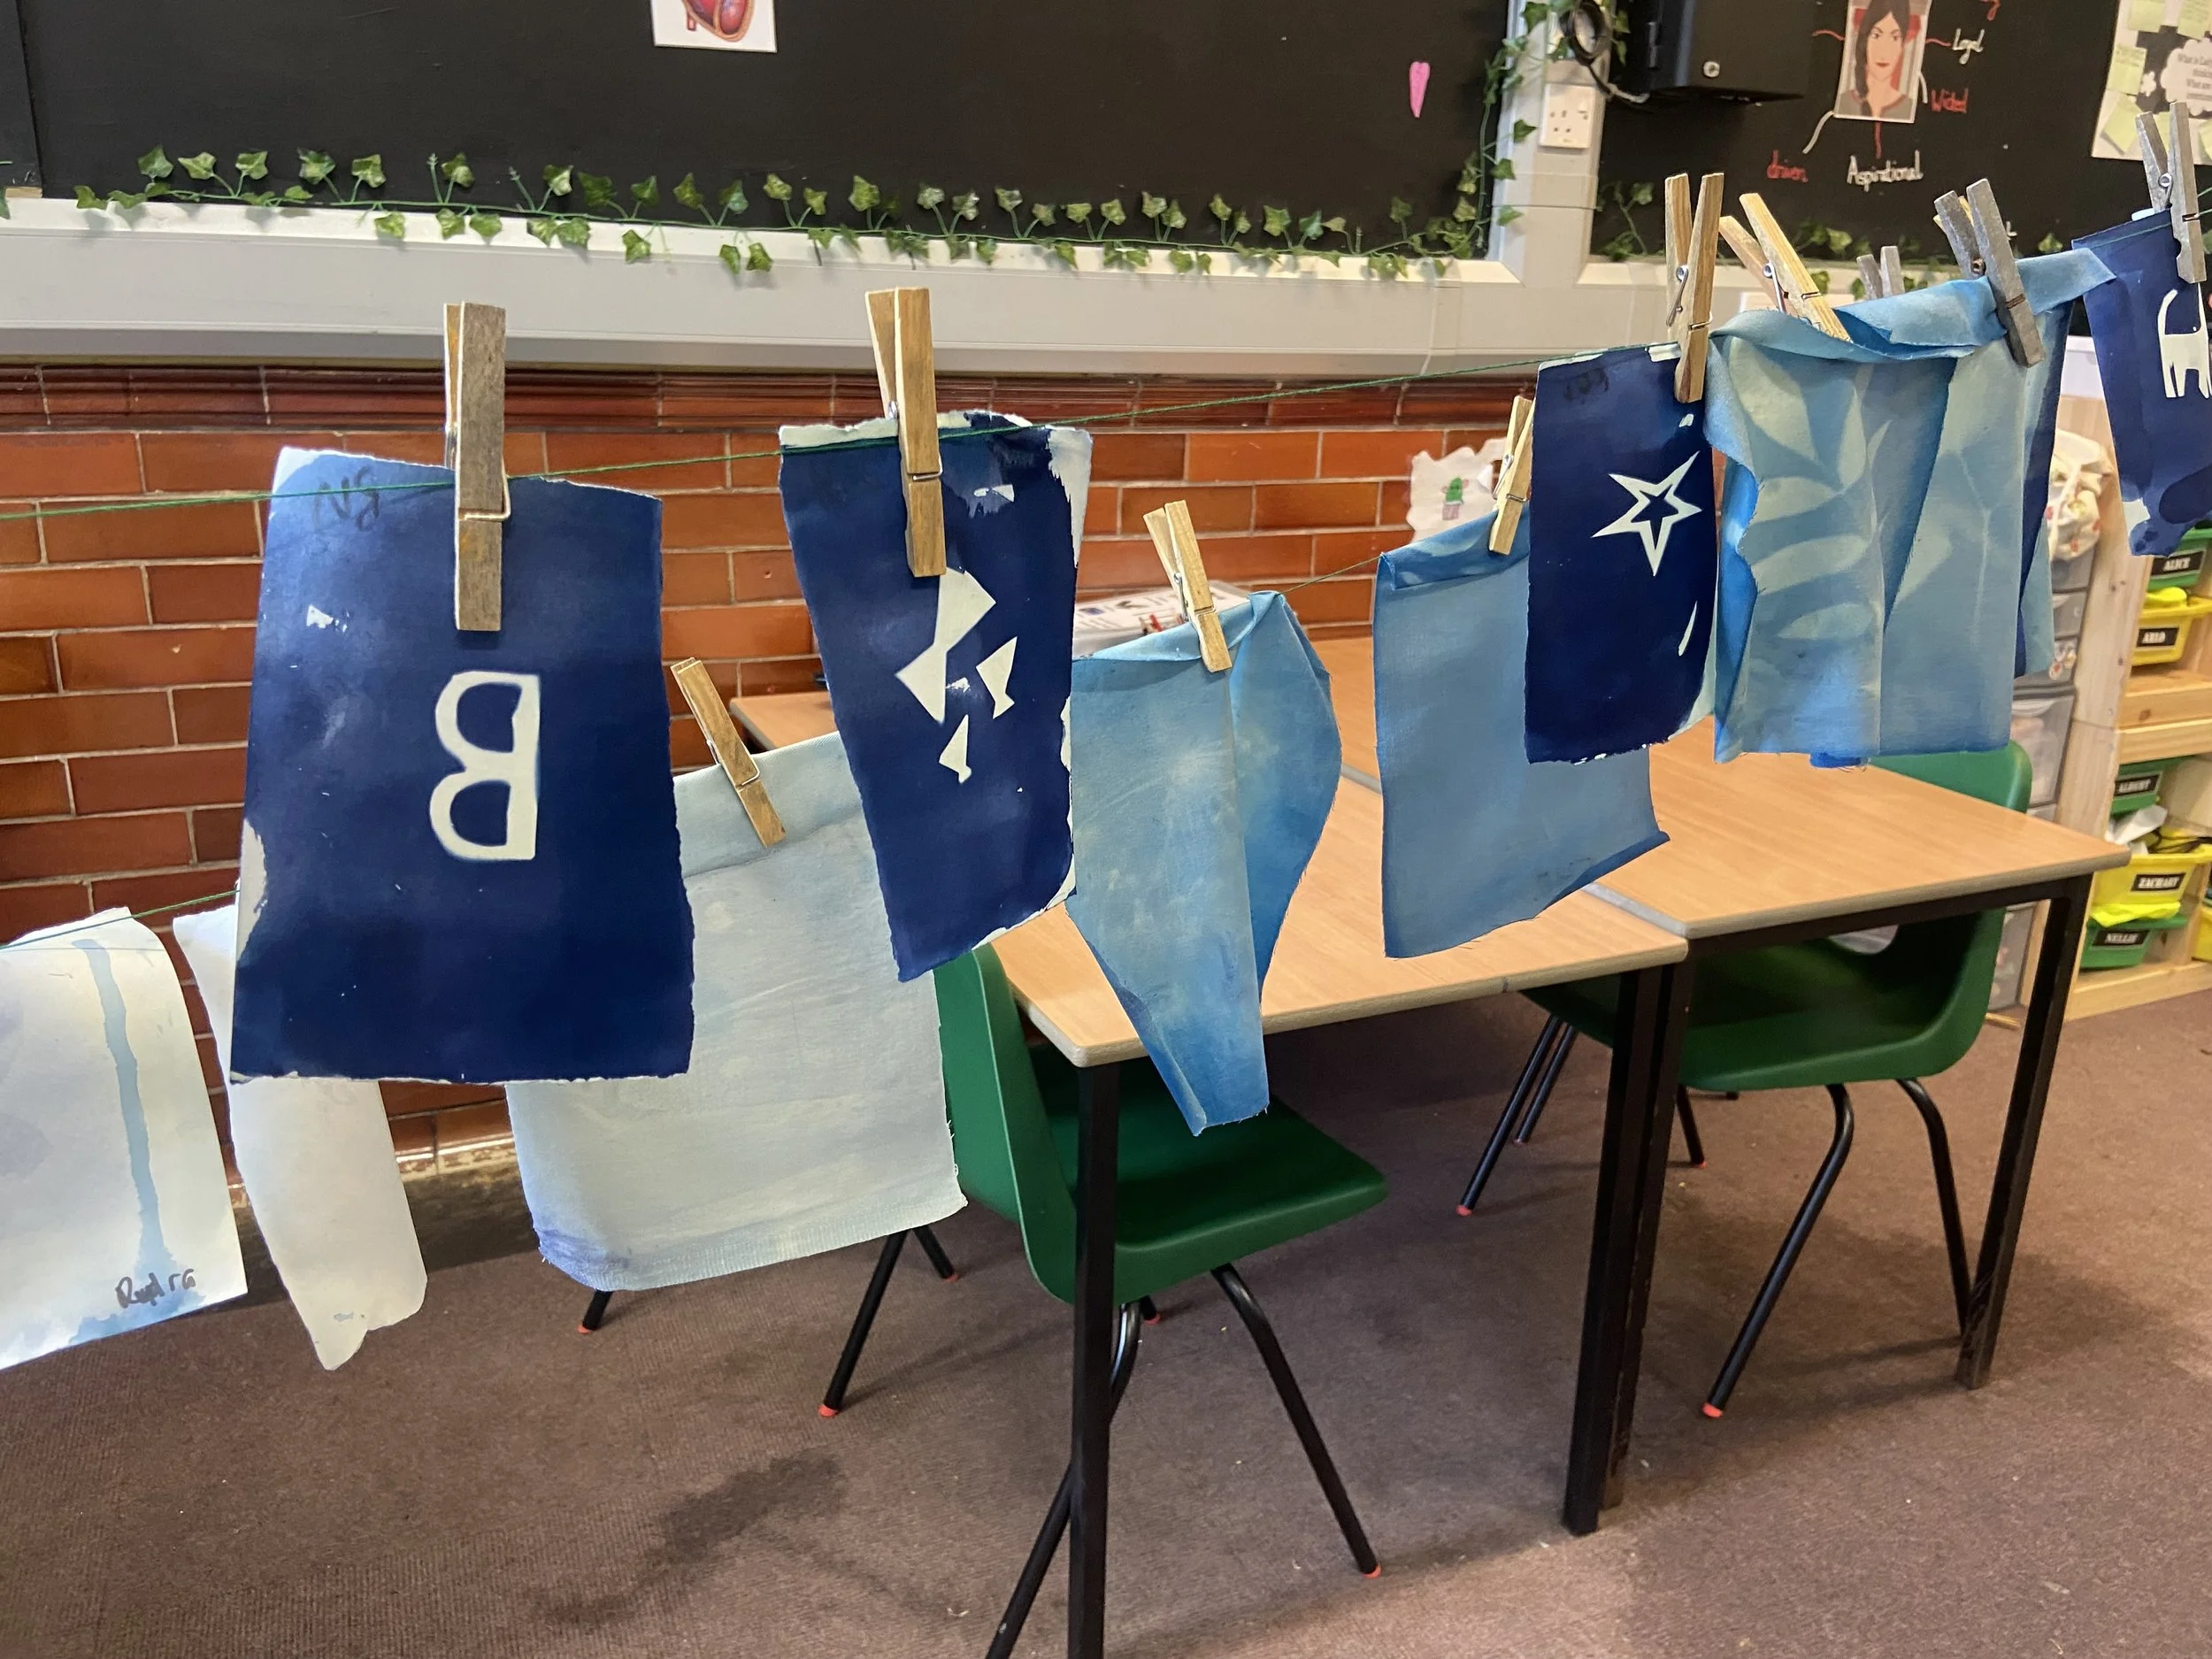
Examples of cyanotype printing with childrens paper cut out stencils.
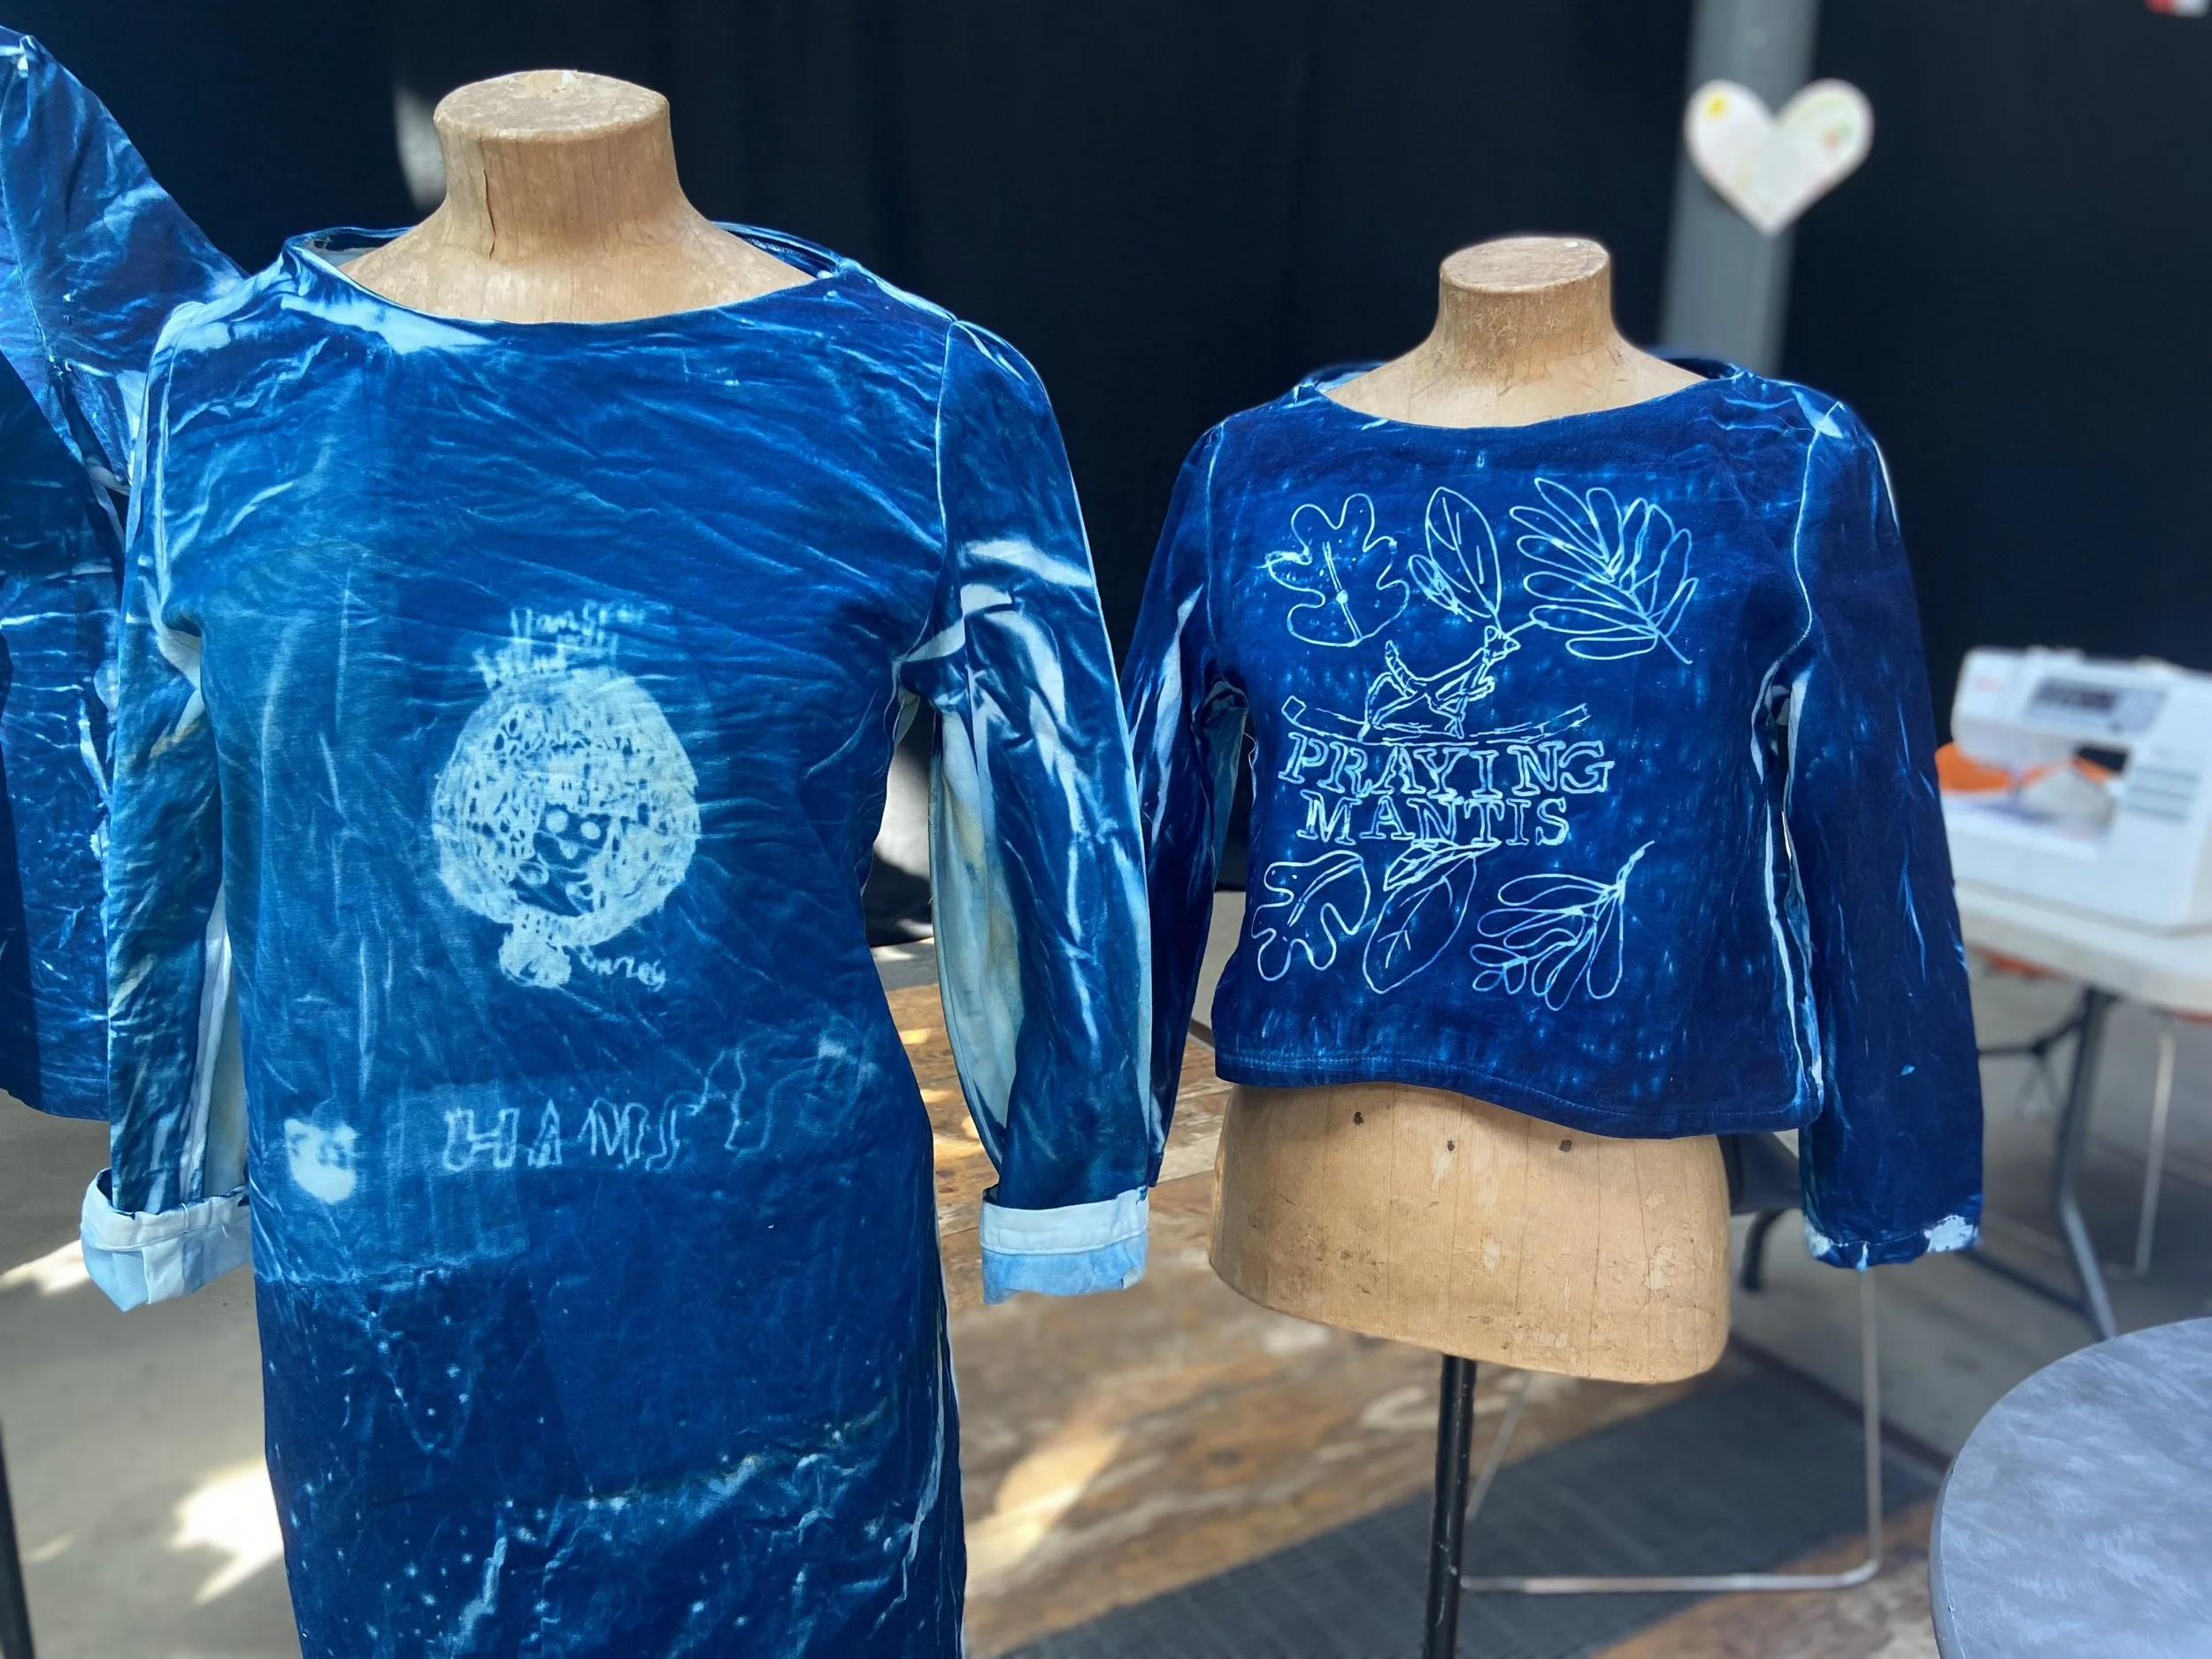
Some awesome designs by 9 and 12 year old students created by drawing on acete film and laying on top of the dress soaked in cyanotype. There are of a Hamster and Mantis!